New to AppsCode Service Broker? Please start here.
Using Kubeapps with AppsCode Service Broker
Kubeapps is a web-based UI for deploying and managing applications in Kubernetes clusters. Using Kubeapps you can browse and provision external services exposed by a Service Catalog.
In this tutorial, we are going to show you how you can browse and manage database services provided by KubeDB in a Kubernetes cluster through the Kubeapps Dashboard.
Prerequisites
Before we start, you need the following things:
A Kubernetes cluster(v1.9+), and the kubectl command-line tool must be configured to communicate with your cluster. If you do not already have a cluster, you can create one by using Minikube.
Helm(v2.10.0+).
- Follow the installation instructions.
- If you already have an appropriate version of Helm installed, execute
helm initto install Tiller, the server-side component of Helm.
You need to create a Kubernetes API token to access to the Kubeapps Dashboard and ensure that you can access it. To that end, follow Create a Kubernetes API token and Start the Kubeapps Dashboard sections.
Browse the Services Offered by AppsCode Service Broker
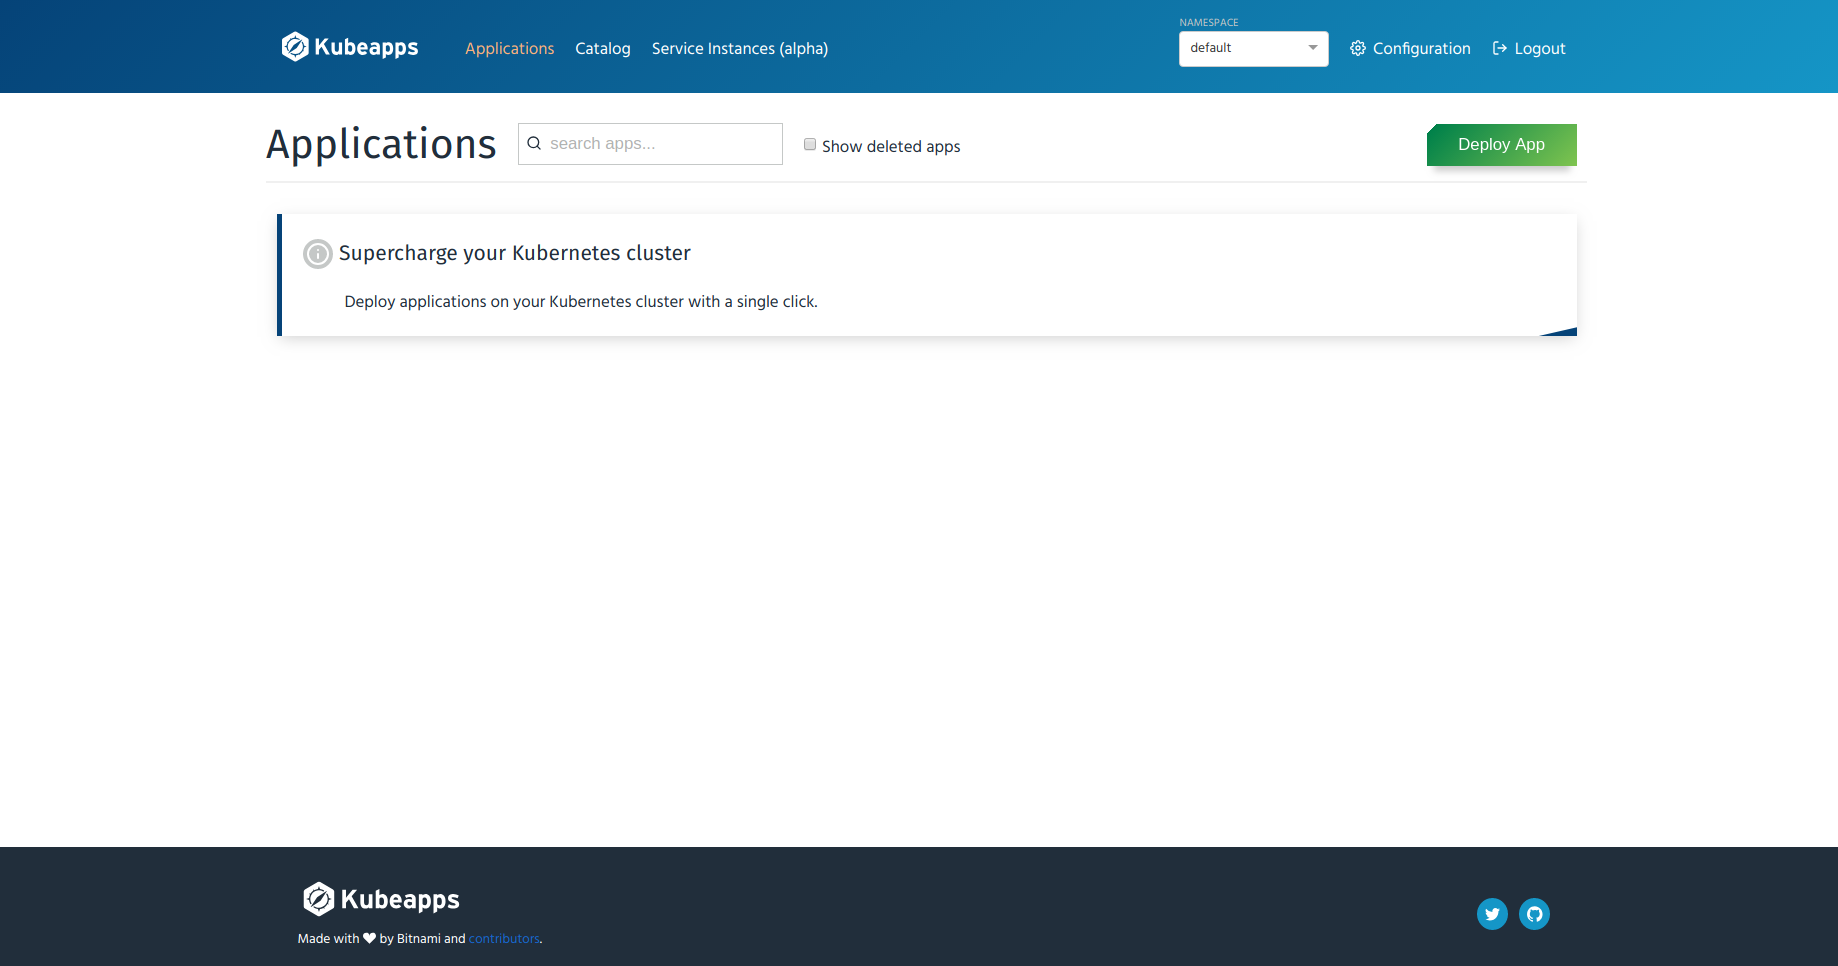
After you have completed the prerequisite steps, you should be able to access the Kubeapps Dashboard.
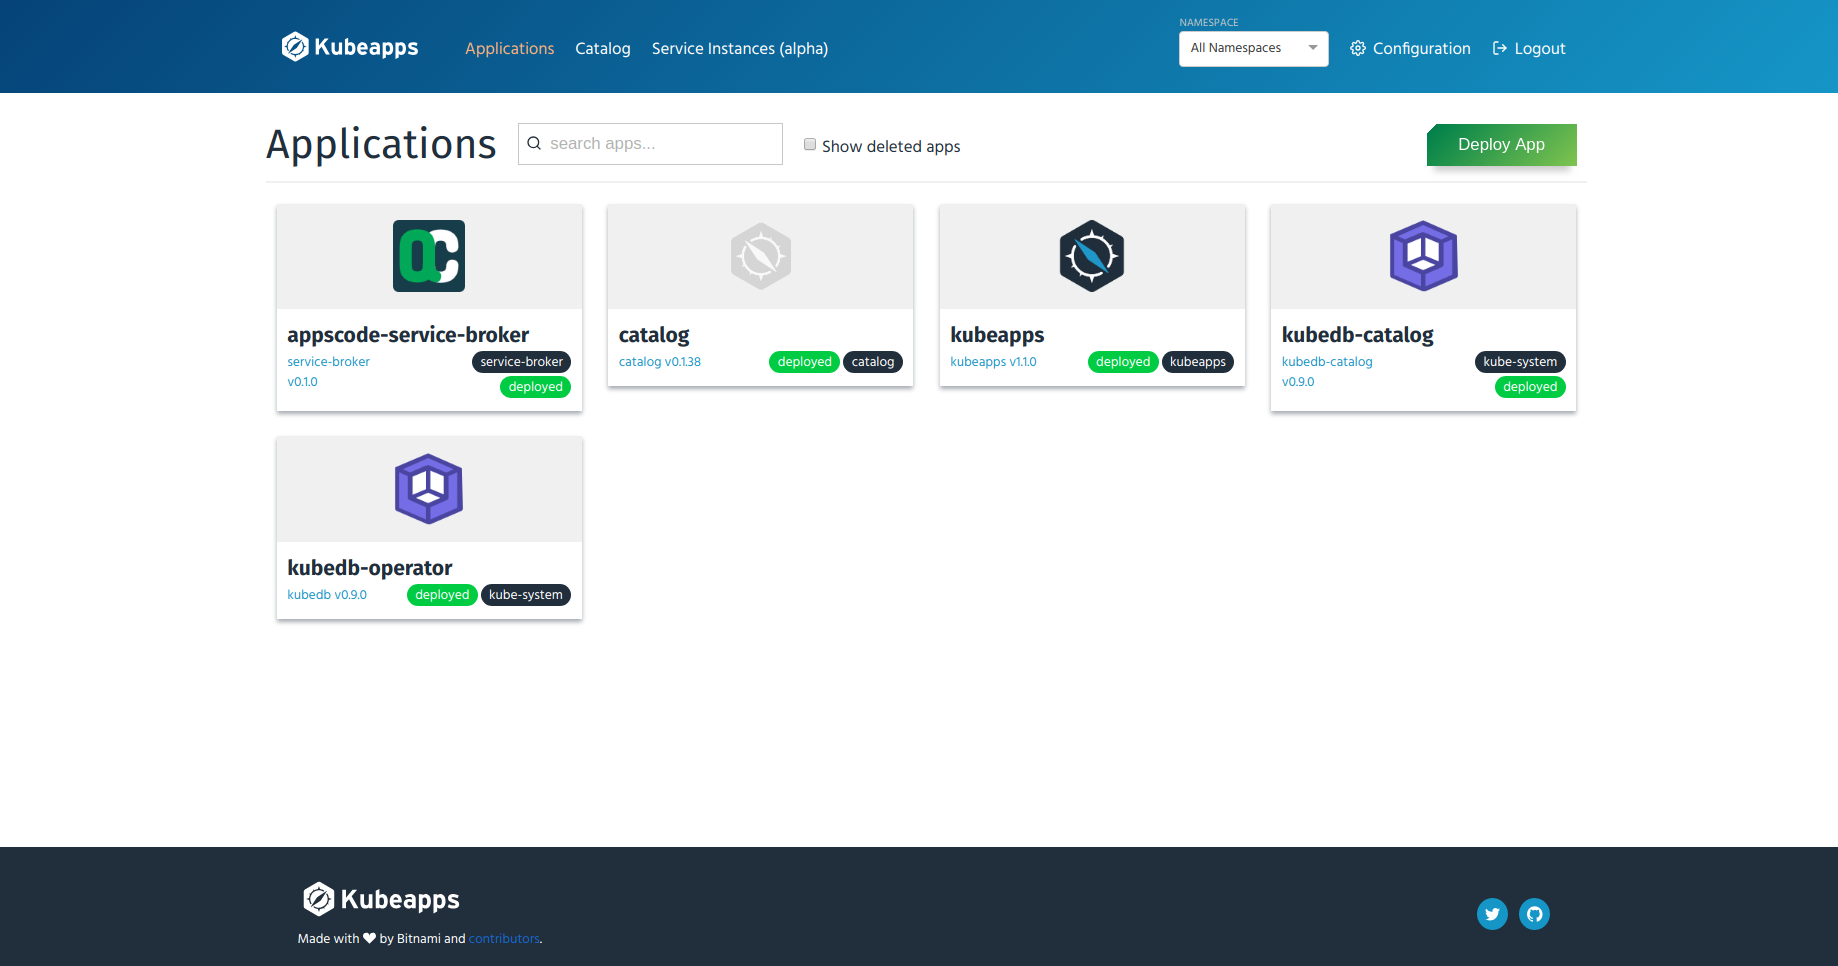
If you select All Namespaces from the drop-down list of namespaces, you should see namespaces like kubeapps, catalog, kubedb-operator, appscode-service-broker, etc.
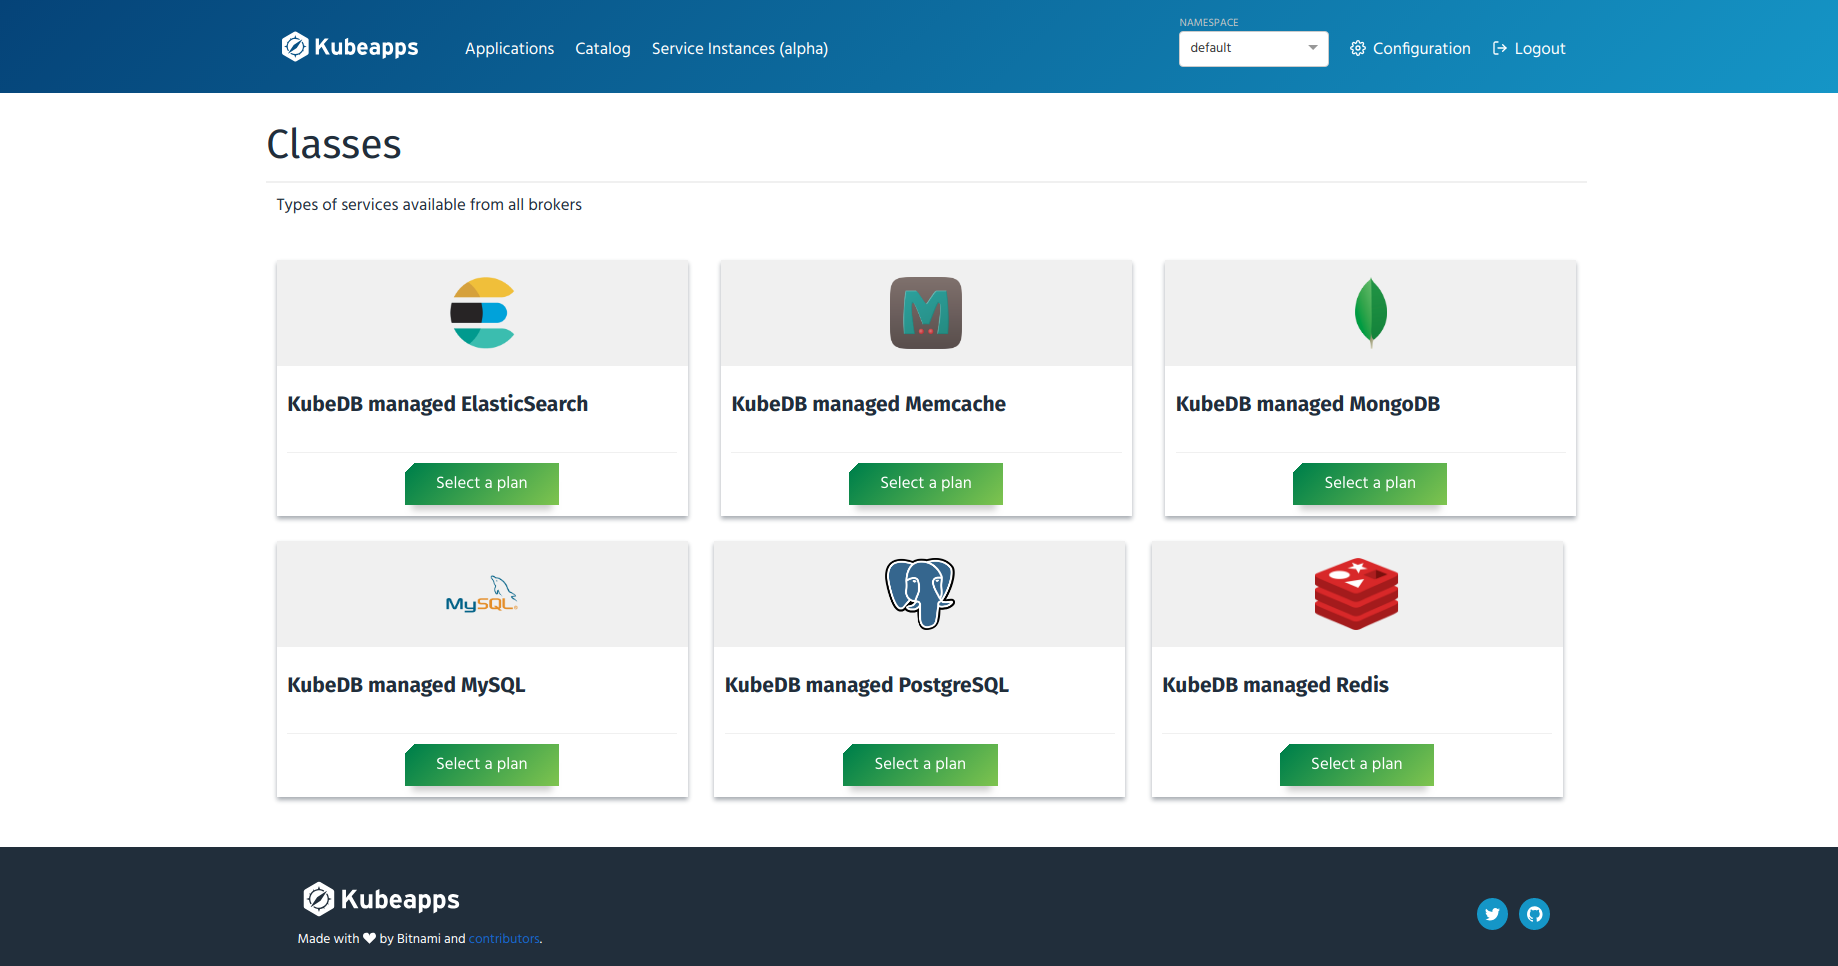
You can click on the applications icon to see more information. Now go to the “Service Instances” page by clicking on the “Service Instances (alpha)” menu from the top menu bar. Then click “Deploy Service Instance” button and you will see the page that lists the services available from all the brokers installed in your cluster. Since you have only installed AppsCode Service Broker (according to this guide), this list contains services offered by AppsCode Service Broker. You can select any of the services from the gallery view.
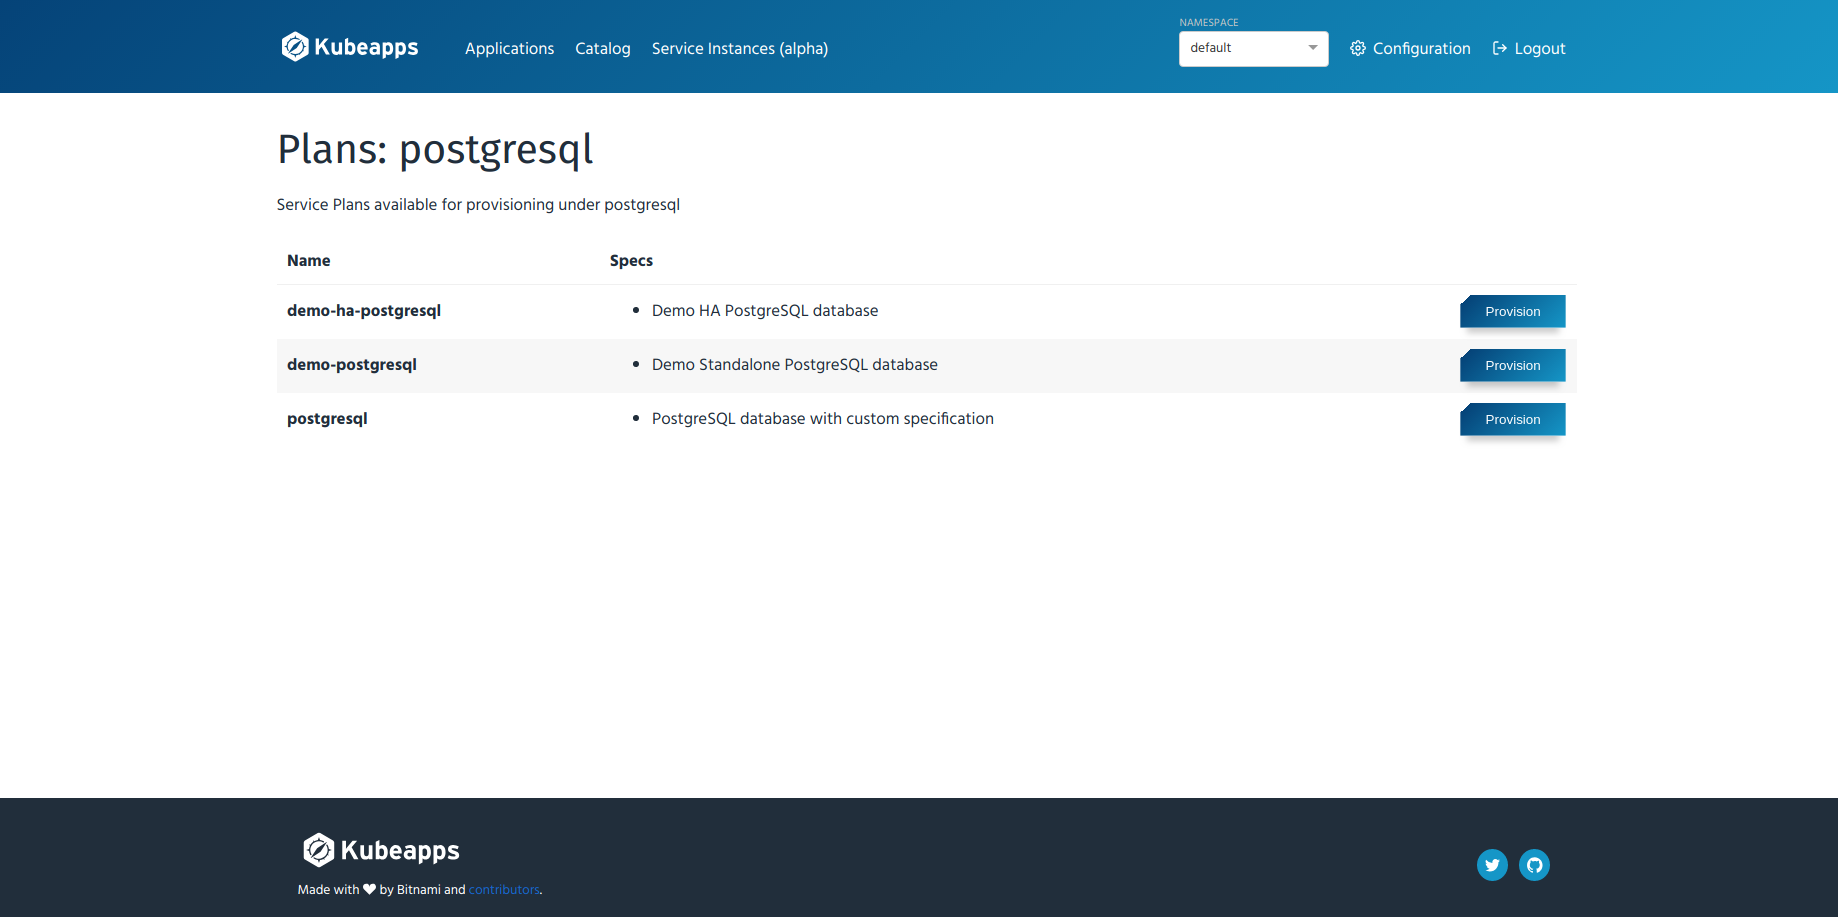
Click “Select a plan” button on the icon for postgresql service. Then a list of plans under this service will be shown.
Manage the Services Offered by AppsCode Service Broker
In this section, you will learn how to use the following PostgreSQL service plans:
demo-postgresql(Demo Standalone PostgreSQL database)postgresql(PostgreSQL database with custom specification).
Manage demo-postgresql Plan
Using this plan you can provision a demo PostgreSQL database with ephemeral storage in a Kubernetes cluster.
Provisioning
To provision a demo standalone PostgreSQL database, perform the following tasks:
- Click on the “Provision” button for
demo-postgresqlplan on the list pagepostgresqlservice class. - A modal dialog will appear for you to input the name for a service instance. In this guide, we are going to use “postgresqldb” as the name for the service instance. You can input any name you wish.
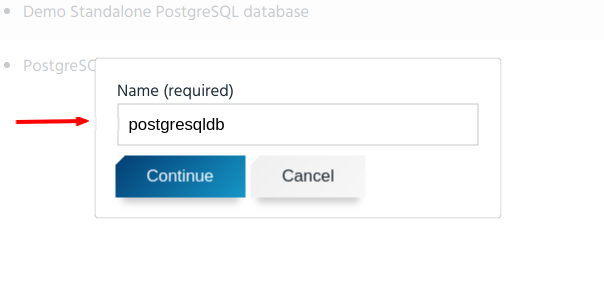
- Click “Continue”
Now, you get another modal dialog to input the parameters for provisioning. AppsCode Service Broker accepts only metadata and spec of Postgres CRD as parameters for the plans of
postgresqlservice. The metadata and spec should be provided with key"metadata"and"spec"respectively. The metadata is optional for all of the plans available. But the spec is required for the custom plan and it must be valid. Here we have used the followingjsonformatted metadata:{ "metadata": { "labels": { "app": "my-postgres" } } }
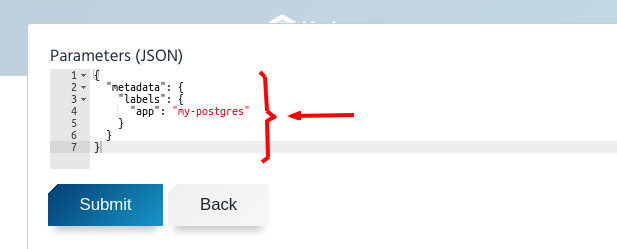
- Click “Submit”
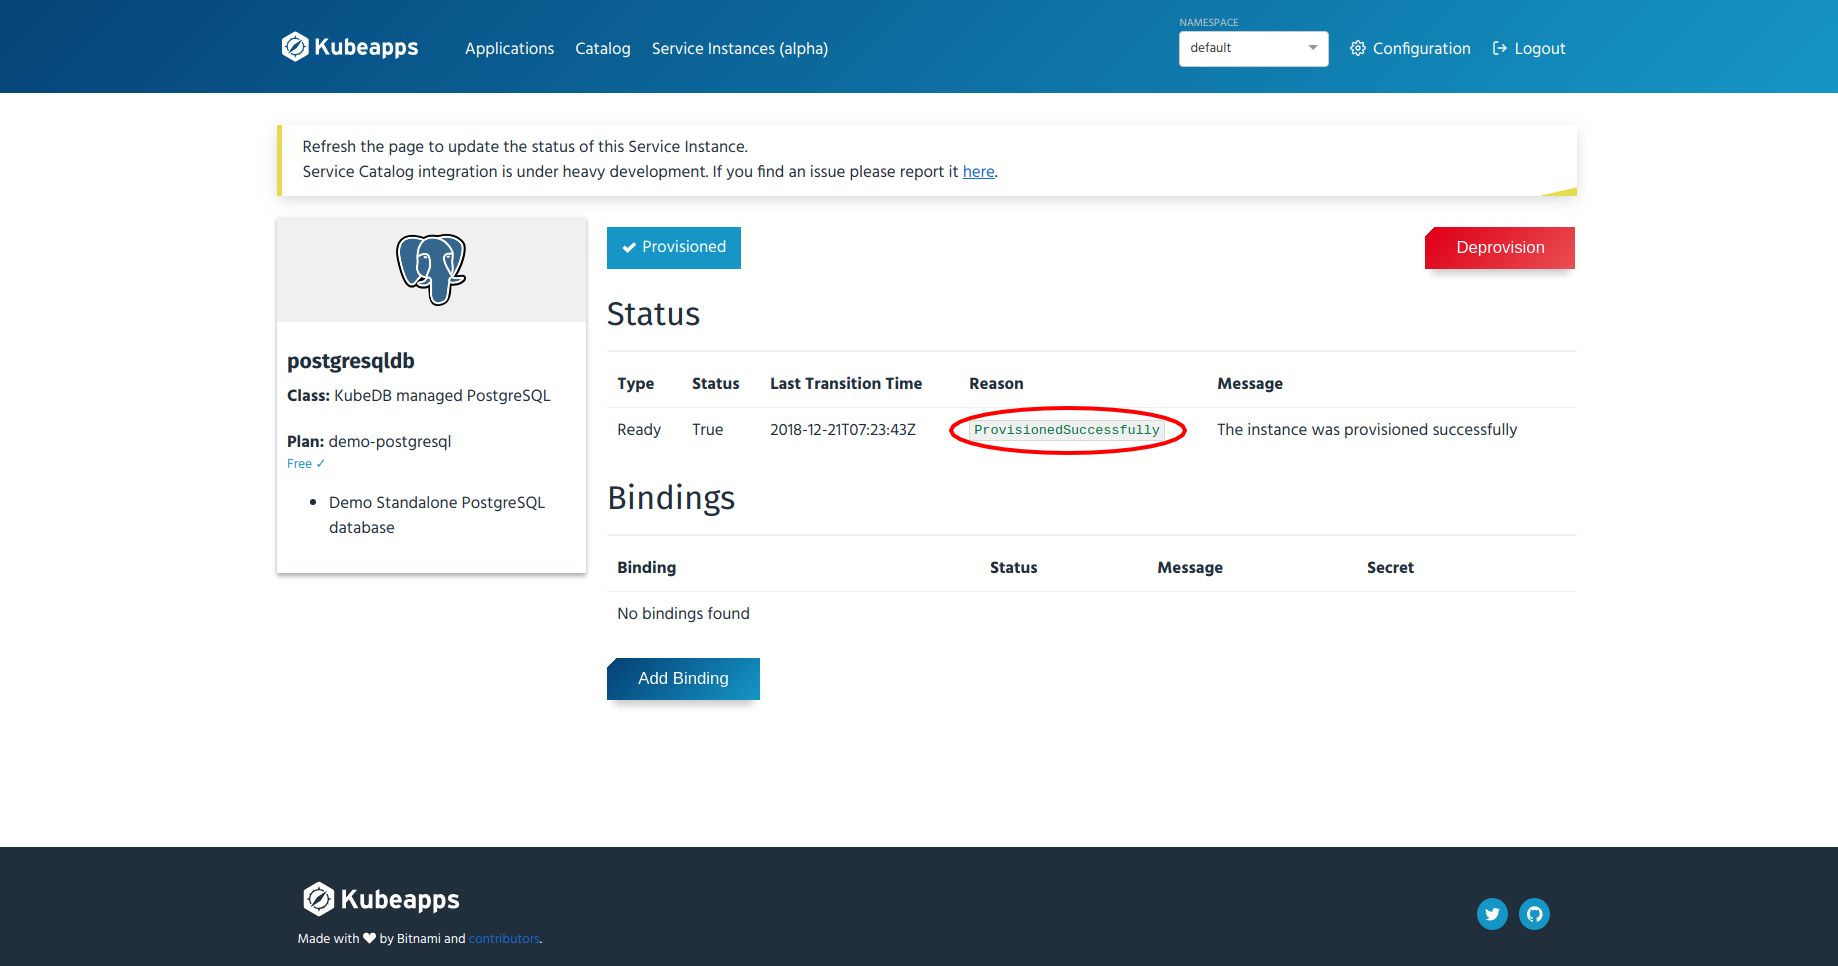
- Refresh the page after 10-15 seconds. You should see
ProvisionedSuccessfullyas the reason in that page like below:
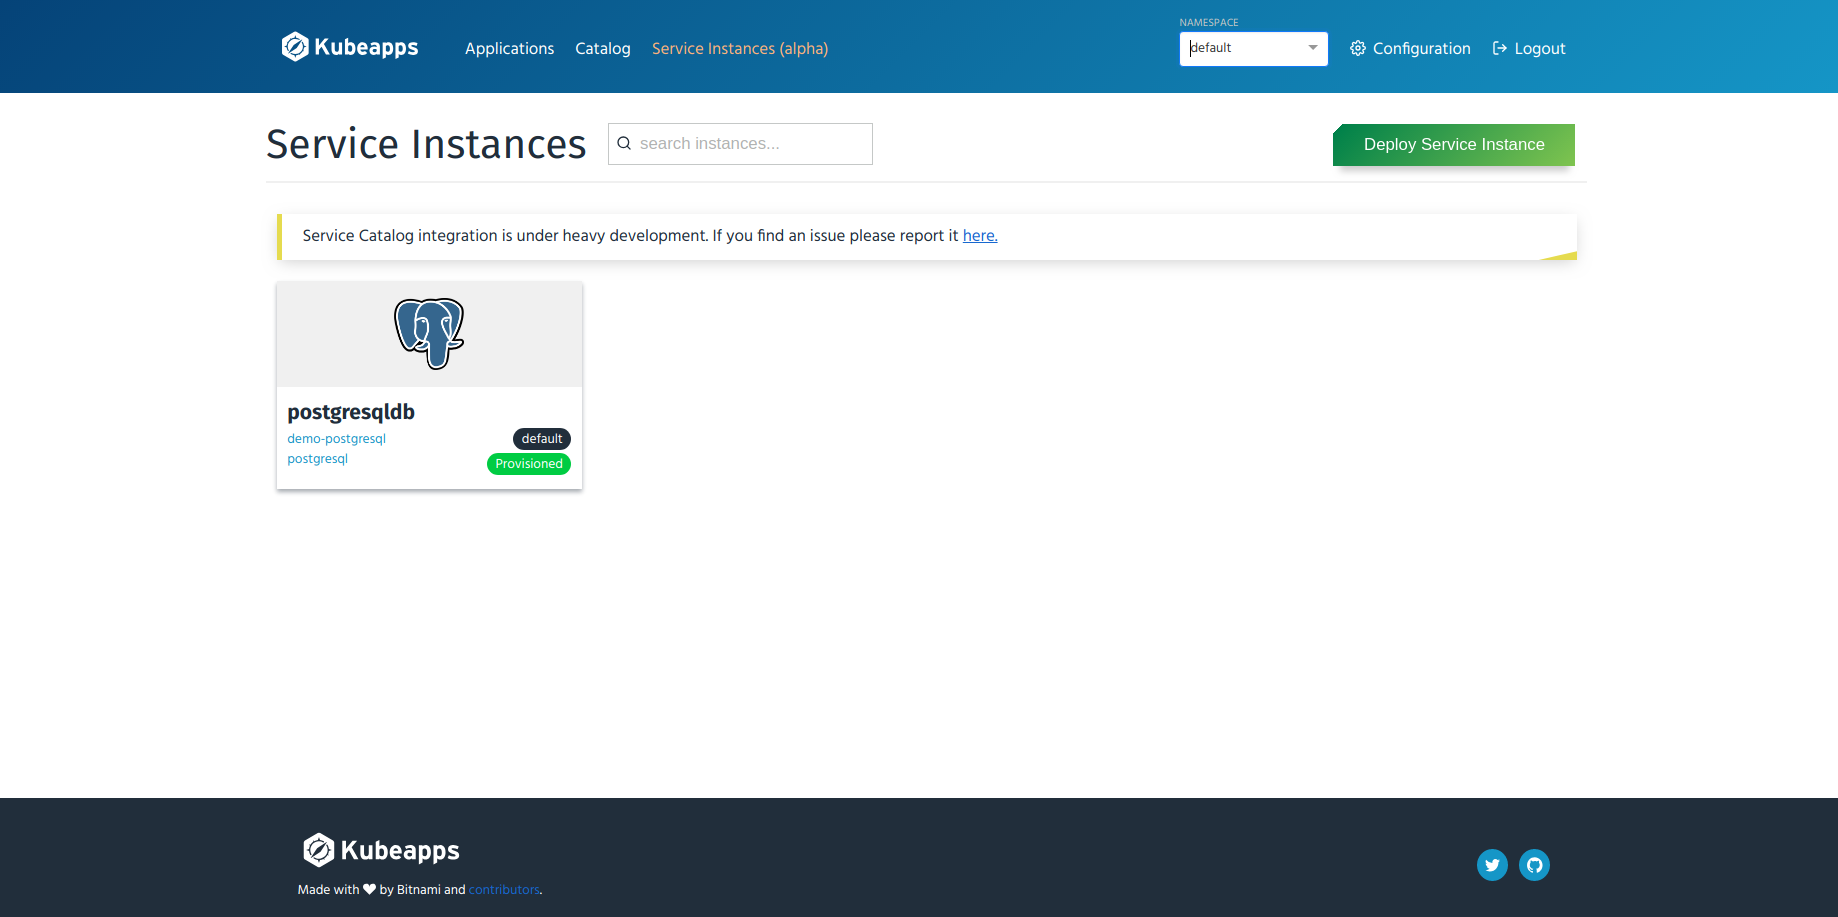
- Go back to the “Service Instances” page by clicking the “Service Instances (alpha)” menu from the top menu bar and select the
All Namespacesordefaultfrom the drop-down list for namespaces and a list of current service instances in the selected namespace will be shown.
Binding
In this section, we are going to bind the instance created in the previous section. To do so, follow the steps below:
- Click the “Add Binding” button on the details page of the newly created instance named
postgresqldb. - A modal dialog will appear where you can input the name for a binding. You can provide any name you wish. Here we used
postgresqldb(same as the name of the instance).

- Click “Continue”
- Another pop-up will ask you to provide the parameters in
jsonformat for binding the instance. Currently, AppsCode Service Broker does not support any parameter for binding. So just keep it empty. - Click “Submit”
- Refresh the page after 10-15 seconds and you will find the status of the binding named
postgresqldbasInjectedBindResult.
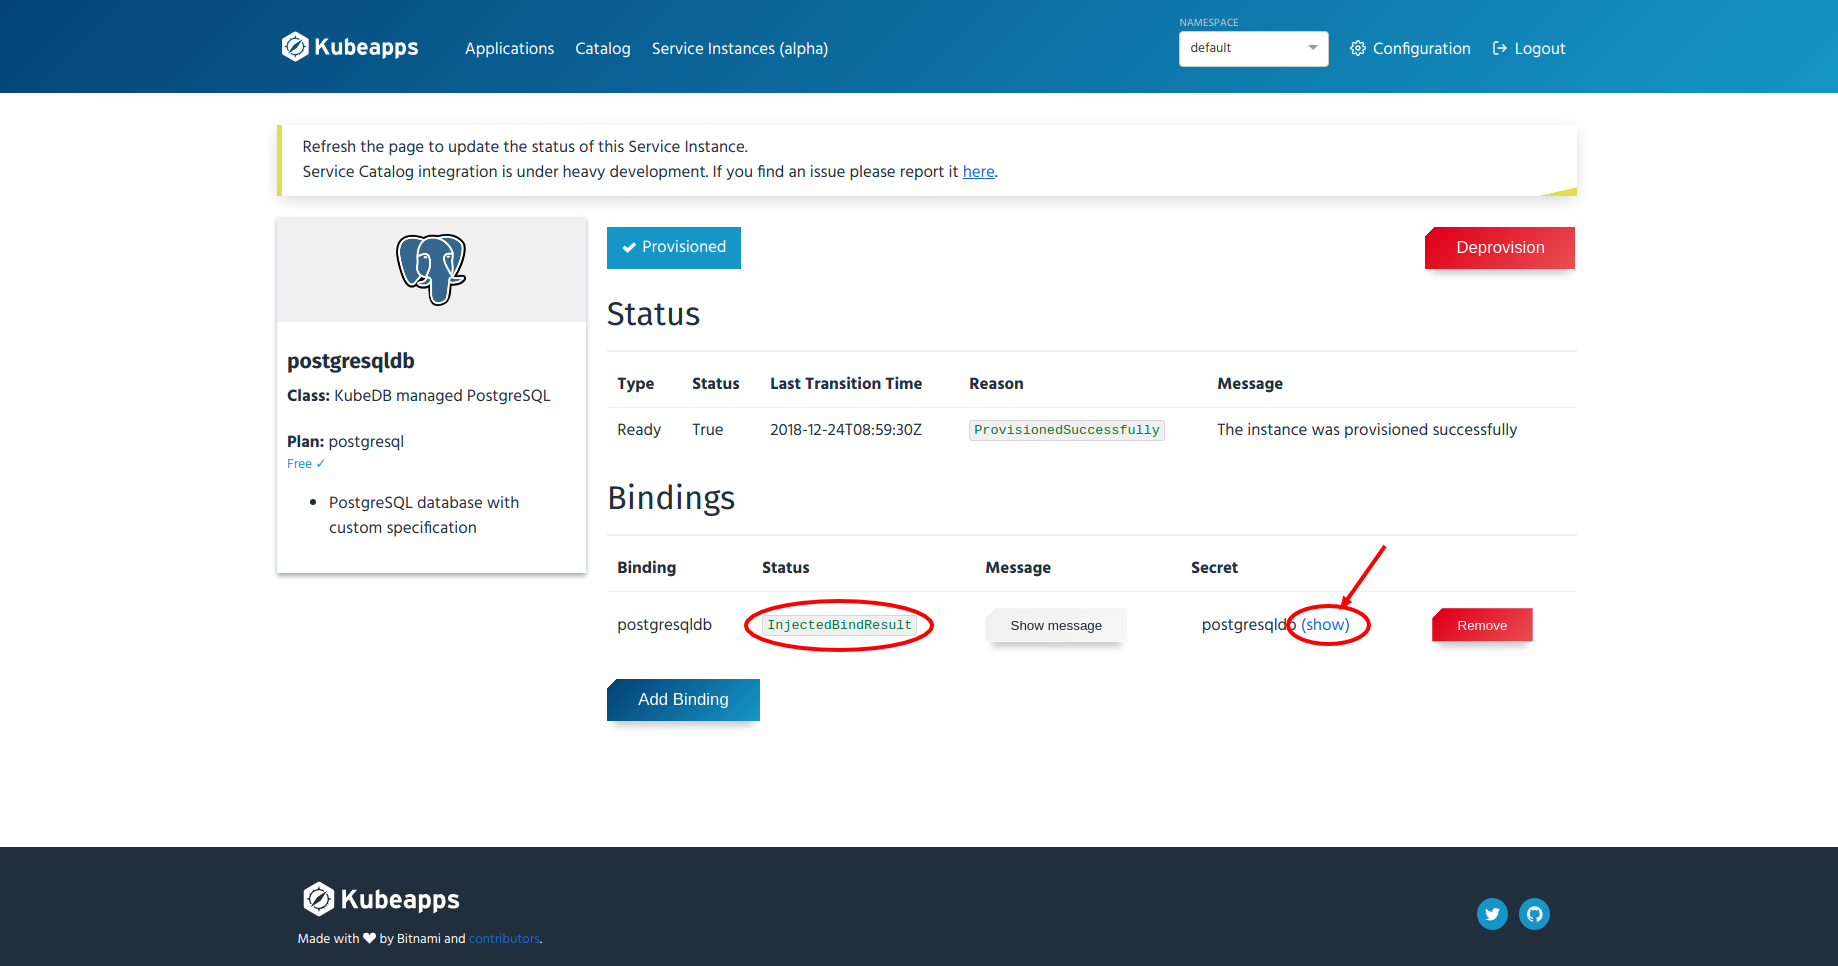
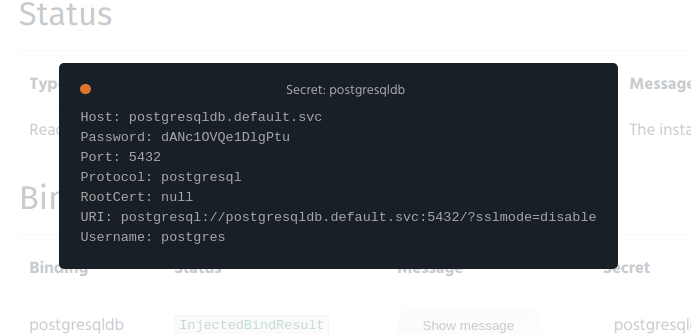
- Click on the link labeled as “show” and the secret data will appear in a pop-up.
Unbinding
You can unbind the newly created binding named postgresqldb by clicking the “Remove” button on that page. Refresh the page afterwards and the binding will disappear.
Deprovisioning
To deprovision the previously created instance named postgresqldb, just click “Deprovision” button and press “Delete” on the pop-up window. Refresh the page after several seconds. That’s it. Now you can check the “Service Instances” page by clicking the “Service Instances (alpha)” menu from the top menu bar and the instance should be gone.
Manage postgresql Plan
Using this plan you can provide a custom specification for PostgreSQL.
Provisioning
This section will show you how to provision postgresql plan for PostgreSQL database using custom specification. Here are the steps:
- Click on the “Provision” button for
postgresqlplan in the list page (the page that contains the list of plans for service namedpostgresql). - A pop-up will appear for you to input a name for the instance. Let’s use the name “postgresqldb”. You can input some other name if you like.
- Click “Continue”
Now, you get another modal dialog to input the parameters for provisioning. AppsCode Service Broker accepts only metadata and spec of Postgres CRD as parameters for the plans of
postgresqlservice. The metadata and spec should be provided with key"metadata"and"spec"respectively. The metadata is optional for all of the plans available. But the spec is required for the custom plan and it must be valid. Here we have used the followingjsonformatted parameters for this custompostgresqlplan:{ "metadata": { "labels": { "app": "my-postgres" } }, "spec": { "storage": { "accessModes": [ "ReadWriteOnce" ], "resources": { "requests": { "storage": "50Mi" } }, "storageClassName": "standard" }, "terminationPolicy": "WipeOut", "version": "10.2-v1" } }Click “Submit”
Refresh the page after 10-15 seconds. You will see
ProvisionedSuccessfullyas the reason in that page like below:

- Go to the “Service Instances” page by clicking the “Service Instances (alpha)” menu from the top menu bar and select the
All Namespacesordefaultfrom the drop-down list for namespaces. You should see a list of current service instances in the selected namespace.
Binding
In this section, we are going to bind the instance created in the previous section. Do the followings steps:
- Click the “Add Binding” button on the details page of the newly created instance named
postgresqldb. - A pop-up dialog will appear for you to input a name for the binding. You can provide any name you wish. Here we used
postgresqldb(same as the name of instance).
- Click “Continue”
- Another pop-up dialog will ask you to provide the parameters in
jsonformat for binding the instance. Currently, AppsCode Service Broker does not support any parameters for binding. So just keep it empty.

- Click “Submit”
- Refresh the page after 5-10 seconds. You should see the status of the binding named
postgresqldbset toInjectedBindResult.
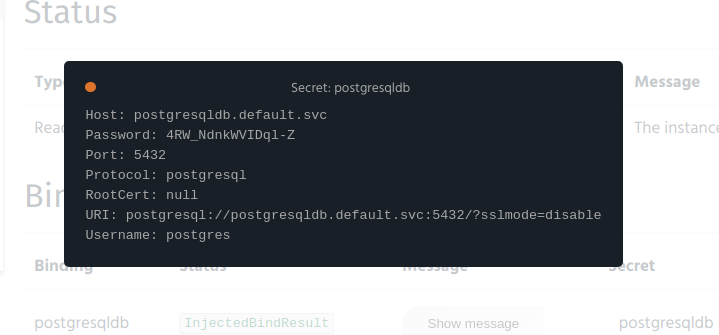
- Click on the link labeled as “show” and the secret data will appear in a pop-up dialog.
Unbinding
You can unbind the newly created binding named postgresqldb by clicking the “Remove” button on that page. Refresh the page afterwards and the binding will disappear.
Deprovisioning
To deprovision the previously created instance named postgresqldb for plan postgresql, just click “Deprovision” button and press “Delete” to confirm on the pop-up dialog. Then refresh the page. That’s it. Now you can check the “Service Instances” page by clicking the “Service Instances (alpha)” menu from the top menu bar. You will see that the instance has disappeared.
Cleanup
- Uninstall AppsCode Service Broker.
- Uninstall KubeDB
Run the following commands to delete Service Catalog
$ helm delete --purge catalog
$ kubectl delete ns catalog
Run the following commands to delete Kubeapps
$ helm delete --purge kubeapps
$ kubectl delete ns kubeapps