New to Searchlight? Please start here.
Check node-volume
Check command node-volume is used to check percentage of available space in Kubernetes Nodes.
Spec
node-volume check command has the following variables:
mountPoint- Mountpoint of volume whose usage stats will be checkedsecretName- Name of Kubernetes Secret used to pass hostfacts auth infowarning- Warning level value (usage percentage defaults to 80.0)critical- Critical level value (usage percentage defaults to 95.0)
Execution of this command can result in following states:
- OK
- Warning
- Critical
- Unknown
Tutorial
Before You Begin
At first, you need to have a Kubernetes cluster, and the kubectl command-line tool must be configured to communicate with your cluster. If you do not already have a cluster, you can create one by using Minikube.
Now, install Searchlight operator in your cluster following the steps here. To use node-volume command, please also install Hostfacts server in your cluster.
To keep things isolated, this tutorial uses a separate namespace called demo throughout this tutorial. Run the following command to prepare your cluster for this tutorial:
$ kubectl create namespace demo
namespace "demo" created

$ kubectl get namespaces
NAME          STATUS    AGE
default       Active    6h
kube-public   Active    6h
kube-system   Active    6h
demo          Active    4m
Check volume stats of all nodes
In this tutorial, we are going to create a NodeAlert to check volume stats of all nodes.
$ cat ./docs/examples/node-alerts/node-volume/demo-0.yaml

apiVersion: monitoring.appscode.com/v1alpha1
kind: NodeAlert
metadata:
  name: node-volume-demo-0
  namespace: demo
spec:
  check: node-volume
  vars:
    mountPoint: /mnt/sda1
    warning: '70'
    critical: '95'
  checkInterval: 5m
  alertInterval: 3m
  notifierSecretName: notifier-config
  receivers:
  - notifier: Mailgun
    state: Critical
    to: ["ops@example.com"]
$ kubectl apply -f ./docs/examples/node-alerts/node-volume/demo-0.yaml
nodealert "node-volume-demo-0" created

$ kubectl describe nodealert -n demo node-volume-demo-0
Name:		node-volume-demo-0
Namespace:	demo
Labels:		<none>
Events:
  FirstSeen	LastSeen	Count	From			SubObjectPath	Type		Reason		Message
  ---------	--------	-----	----			-------------	--------	------		-------
  6s		6s		1	Searchlight operator			Normal		SuccessfulSync	Applied NodeAlert: "node-volume-demo-0"
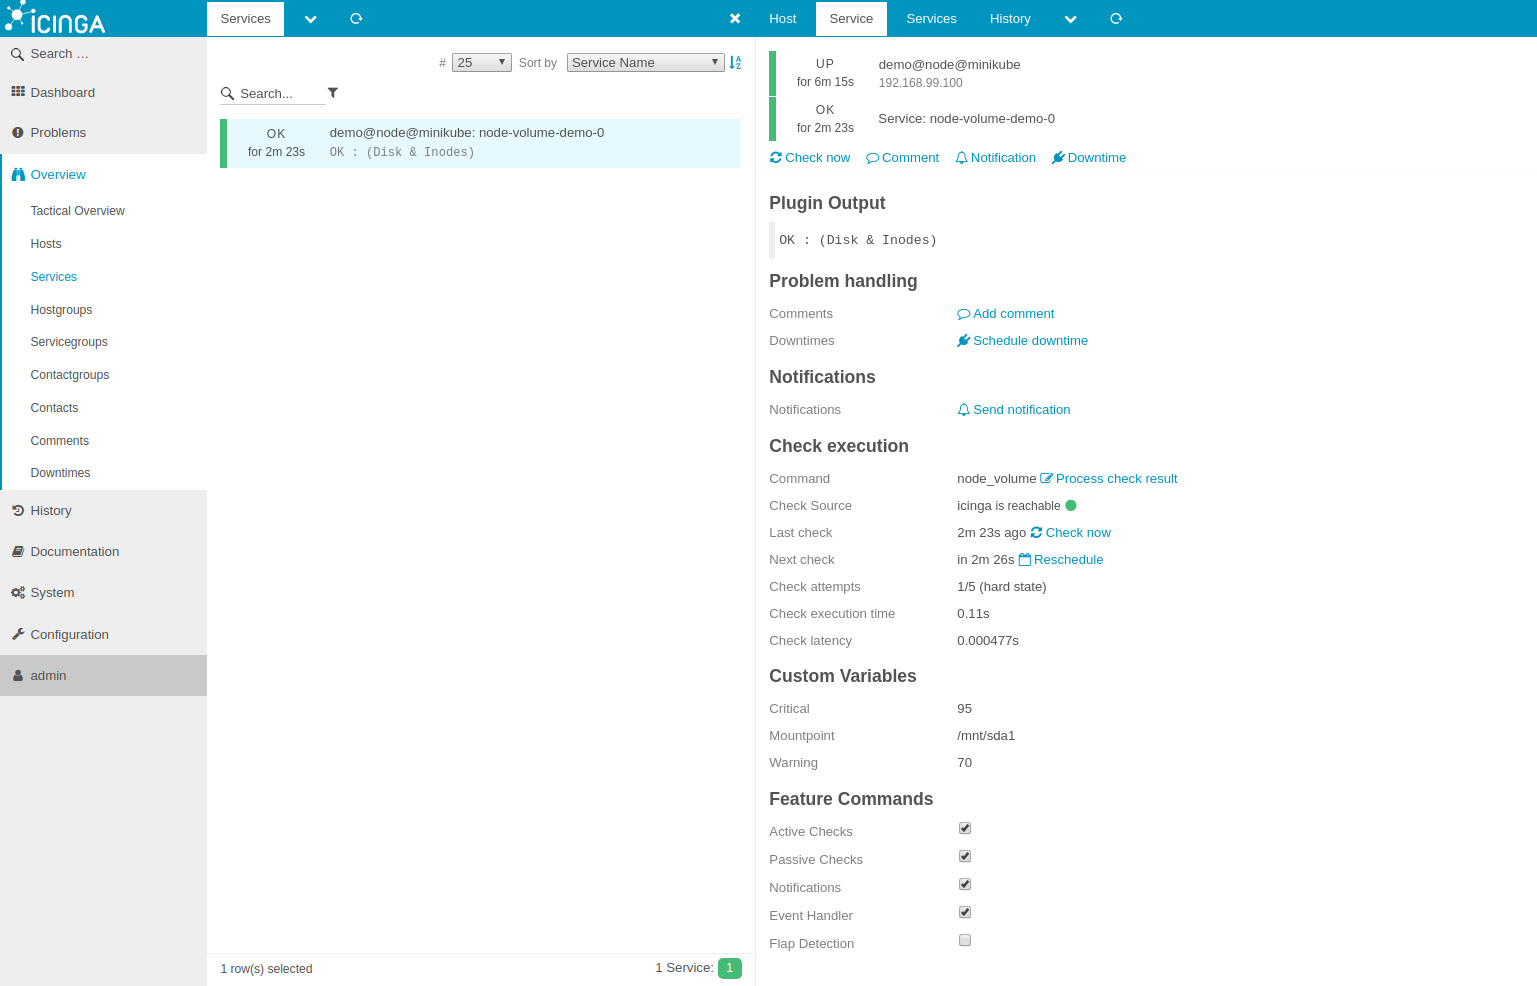
Voila! node-volume command has been synced to Icinga2. Please visit here to learn how to configure notifier secret. Now, open IcingaWeb2 in your browser. You should see a Icinga host demo@node@minikube and Icinga service node-volume-demo-0.
Check volume stats of nodes with matching labels
In this tutorial, a NodeAlert will be used check volume stats of nodes with matching labels by setting spec.selector field.
$ cat ./docs/examples/node-alerts/node-volume/demo-1.yaml

apiVersion: monitoring.appscode.com/v1alpha1
kind: NodeAlert
metadata:
  name: node-volume-demo-1
  namespace: demo
spec:
  selector:
    beta.kubernetes.io/os: linux
  check: node-volume
  vars:
    mountPoint: /mnt/sda1
    warning: '70'
    critical: '95'
  checkInterval: 5m
  alertInterval: 3m
  notifierSecretName: notifier-config
  receivers:
  - notifier: Mailgun
    state: Critical
    to: ["ops@example.com"]
$ kubectl apply -f ./docs/examples/node-alerts/node-volume/demo-1.yaml
nodealert "node-volume-demo-1" created
$ kubectl describe nodealert -n demo node-volume-demo-1
Name: node-volume-demo-1
Namespace: demo
Labels: <none>
Events:
FirstSeen LastSeen Count From SubObjectPath Type Reason Message
--------- -------- ----- ---- ------------- -------- ------ -------
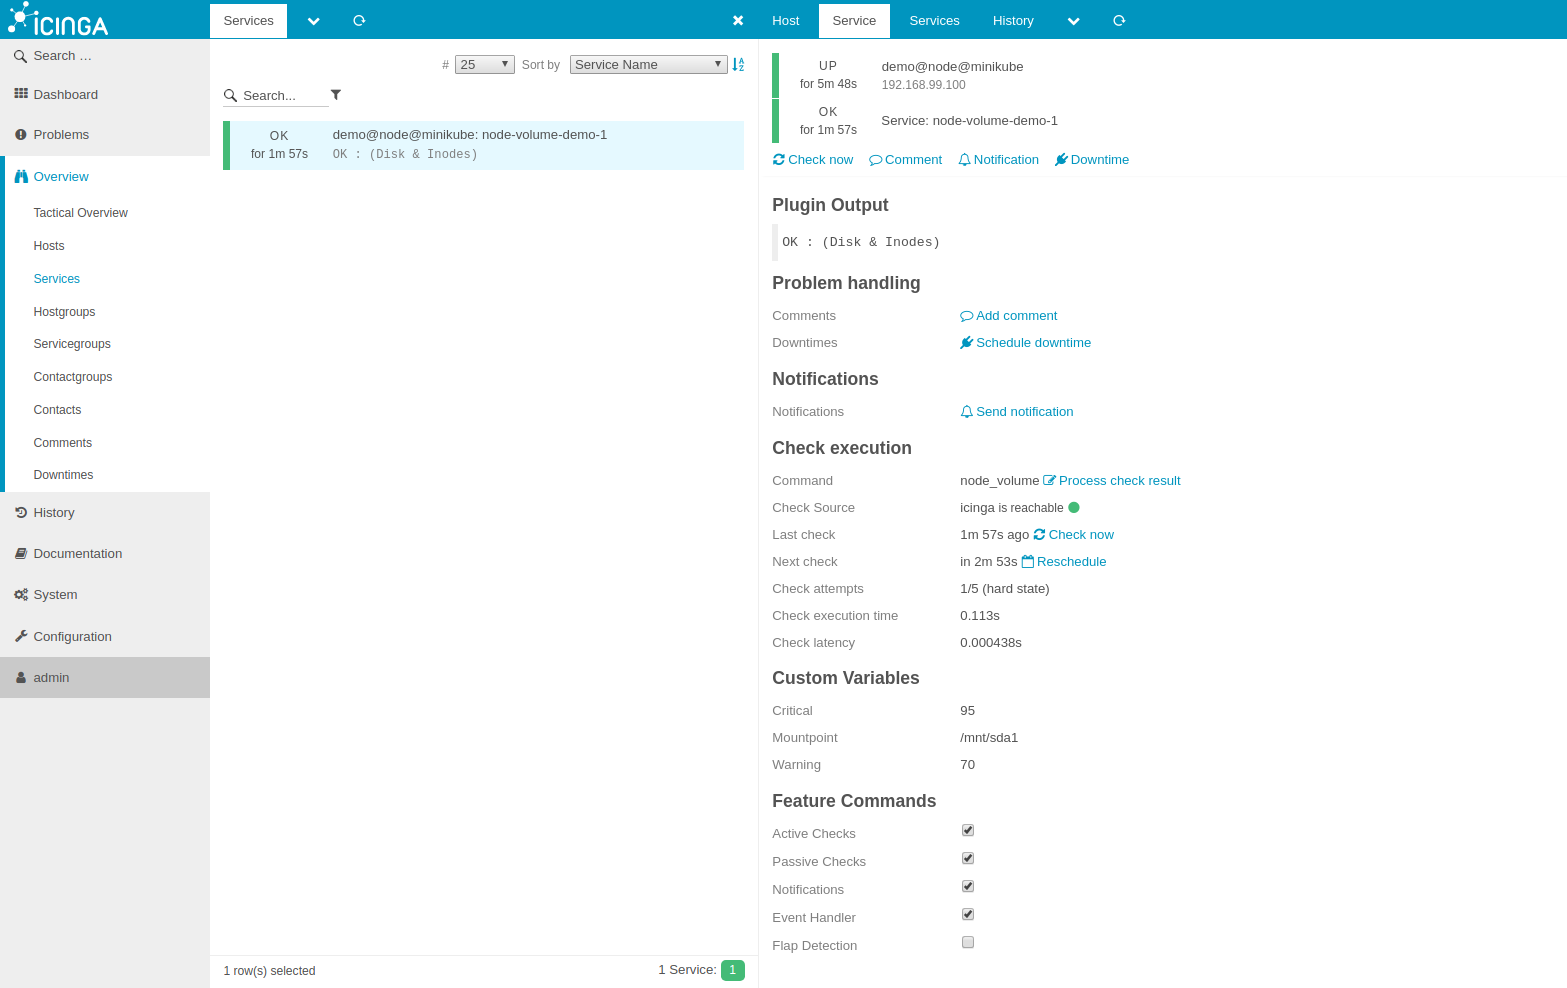
33s 33s 1 Searchlight operator Normal SuccessfulSync Applied NodeAlert: "node-volume-demo-1"
Check volume stats of a specific node
In this tutorial, a NodeAlert will be used check volume stats of a node by name by setting spec.nodeName field.
$ cat ./docs/examples/node-alerts/node-volume/demo-2.yaml

apiVersion: monitoring.appscode.com/v1alpha1
kind: NodeAlert
metadata:
  name: node-volume-demo-2
  namespace: demo
spec:
  nodeName: minikube
  check: node-volume
  vars:
    mountPoint: /mnt/sda1
    warning: '70'
    critical: '95'
  checkInterval: 5m
  alertInterval: 3m
  notifierSecretName: notifier-config
  receivers:
  - notifier: Mailgun
    state: Critical
    to: ["ops@example.com"]
$ kubectl apply -f ./docs/examples/node-alerts/node-volume/demo-2.yaml
nodealert "node-volume-demo-2" created
$ kubectl describe nodealert -n demo node-volume-demo-2
Name: node-volume-demo-2
Namespace: demo
Labels: <none>
Events:
FirstSeen LastSeen Count From SubObjectPath Type Reason Message
--------- -------- ----- ---- ------------- -------- ------ -------
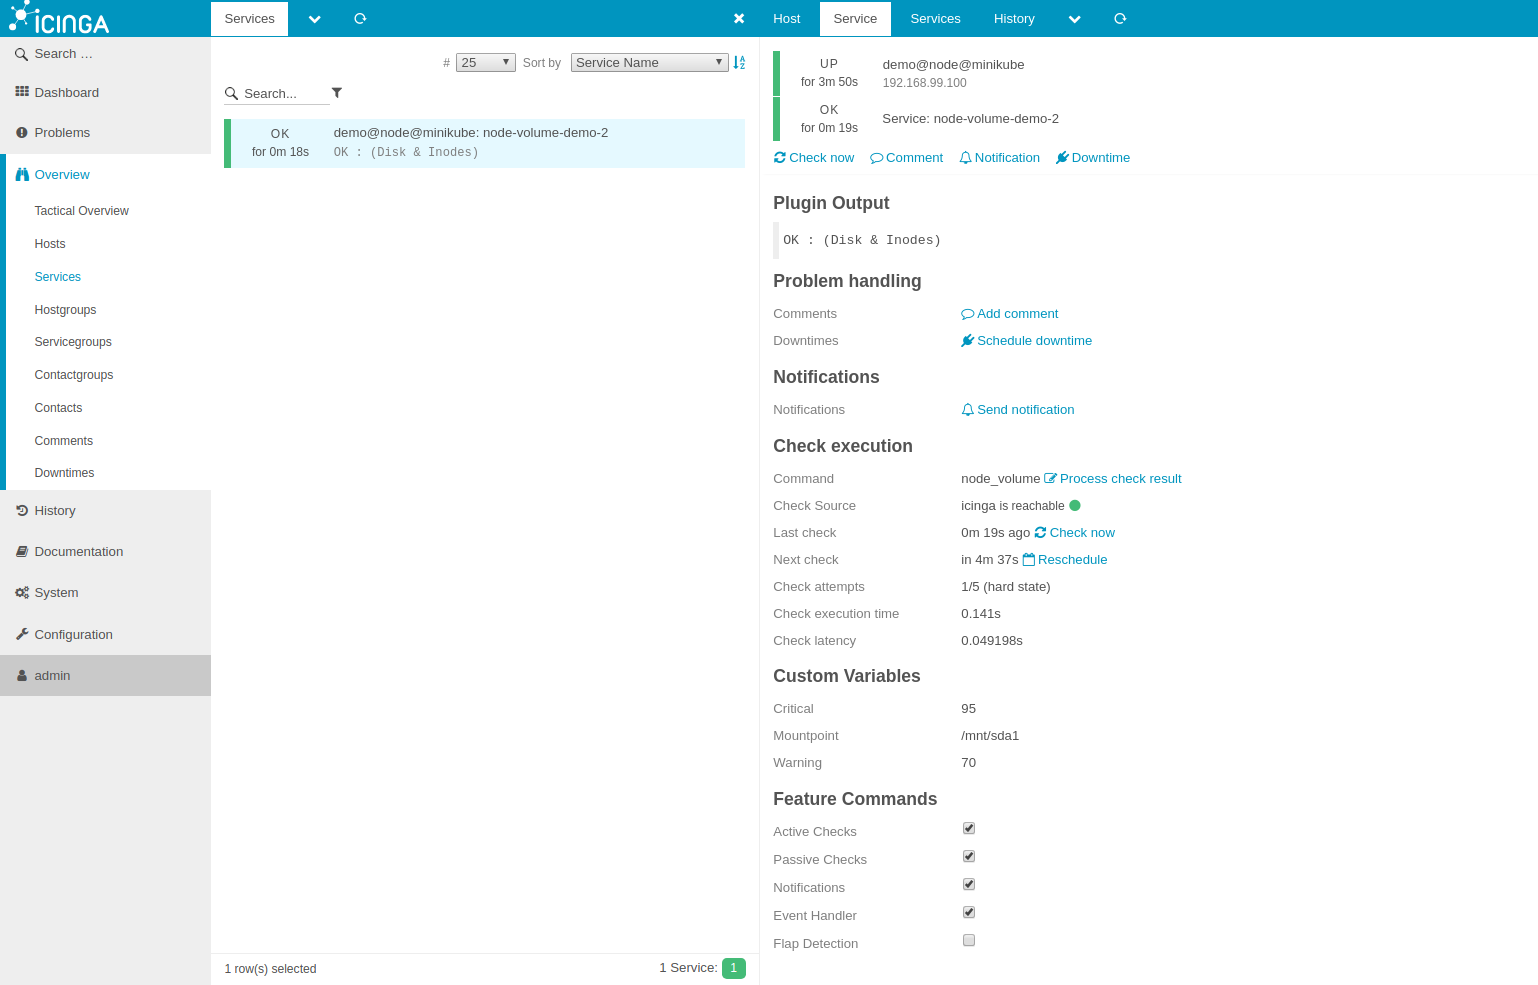
22s 22s 1 Searchlight operator Normal SuccessfulSync Applied NodeAlert: "node-volume-demo-2"
Pause Alert
To pause alert, edit NodeAlert node-volume-demo-2 to set spec.paused to be true
$ kubectl edit nodealert node-volume-demo-2 -n demo
spec:
  pause: true
Searchlight operator will delete Icinga Services for this alert. To resume, edit and set spec.paused to be false
Cleaning up
To cleanup the Kubernetes resources created by this tutorial, run:
$ kubectl delete ns demo
If you would like to uninstall Searchlight operator, please follow the steps here.
Next Steps
- To periodically run various checks on a Kubernetes cluster, use ClusterAlerts.
- To periodically run various checks on pods in a Kubernetes cluster, use PodAlerts.
- See the list of supported notifiers here.
- Wondering what features are coming next? Please visit here.
- Want to hack on Searchlight? Check our contribution guidelines.